There is an old saying that PhotoShop always has three ways to do a given task. Three only? That sounds like a low estimate. I’m currently working on a programming project where I’d like to replicate some results from PhotoShop, so I started with simple task – desaturating an image – converting color photo as black & white.
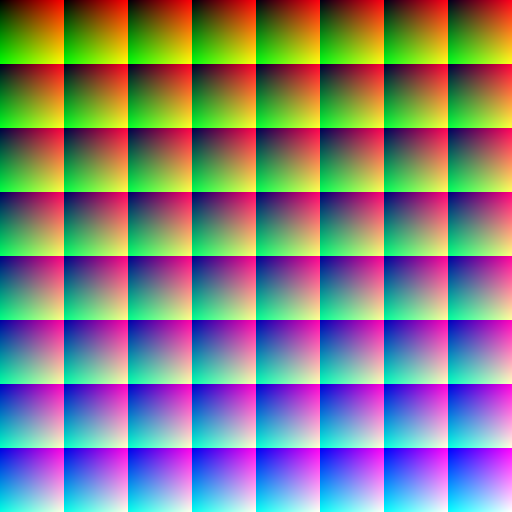
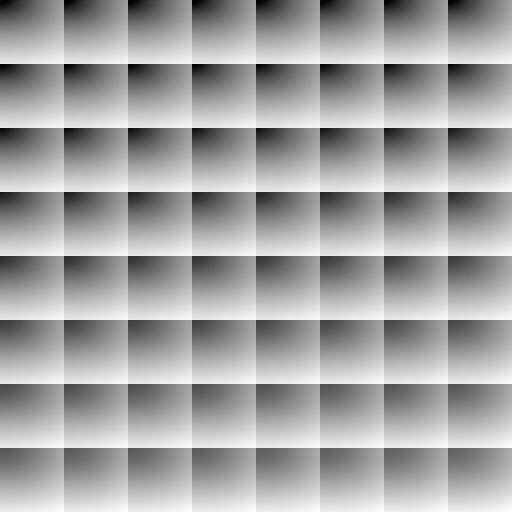
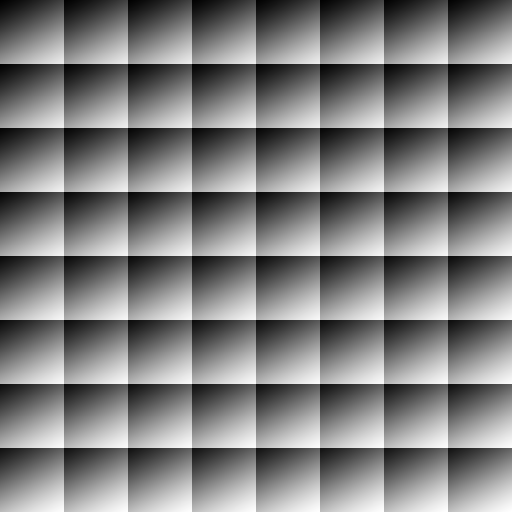
In the following examples, I’m using color test pattern from GPUImage. It contains 64^3 pixels, organized in a grid. It is originally designed for color lookup, but as it visualizes the differences quite nicely, I decided to use it here. Here’s the original pattern looks like this:
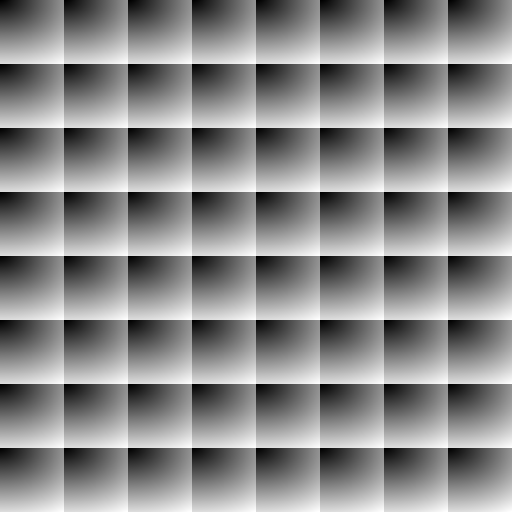
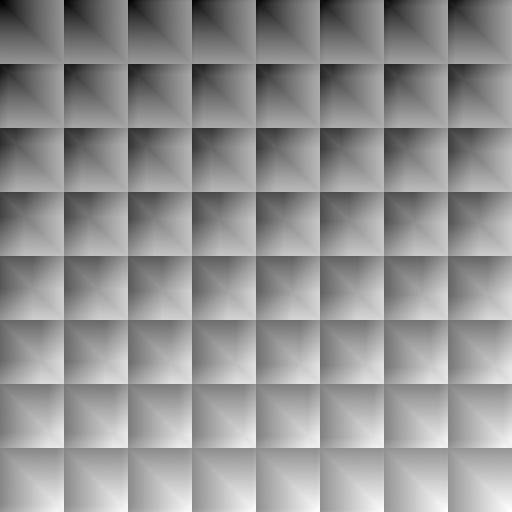
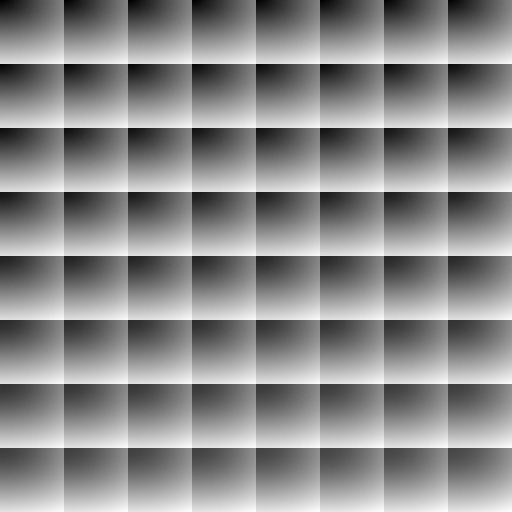
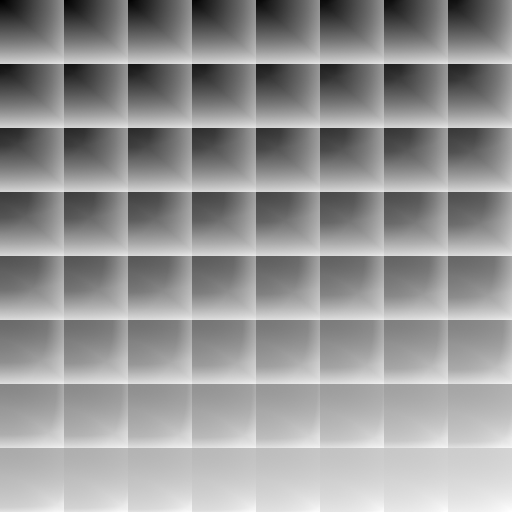
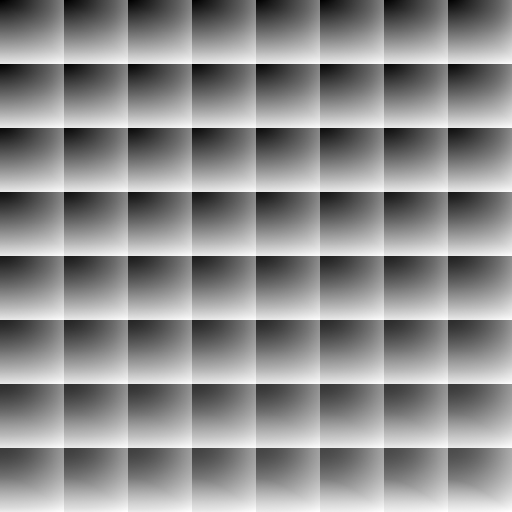
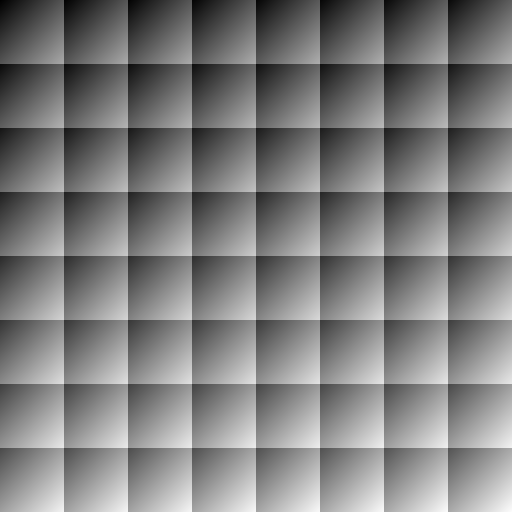
Next, the B&W conversions. Pay attention to hue changes and smoothness of the gradient.
- First, the obvious Image -> Desaturate. Same effect can also be achieved with Hue/Saturation adjustment layer.

- Vibrance/Saturation adjustment produces different look.
- Black & White adjustment with default settings.
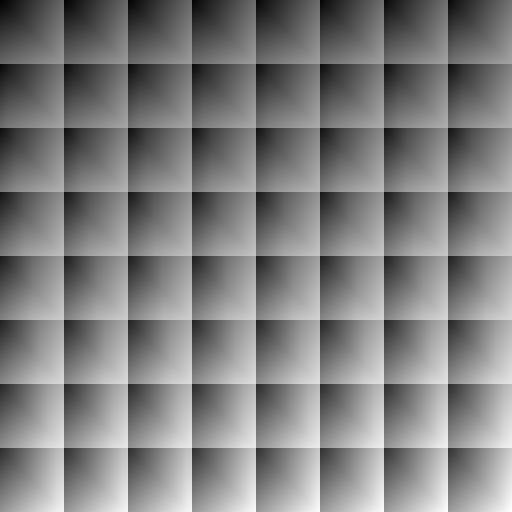
- Converting to HSL and taking Lightness channel only. This almost same as Desaturate, but it appears slightly lighter.
- Converting to LAB and taking Lightness channel only.
- Image -> Mode -> Grayscale. Very close to LAB, but again there is difference in contrast.
- Camera RAW: HSL Saturation -100
- Camera RAW: Saturation -100
- Camera RAW: HSL Grayscale mode with sliders at zero. Note the crude changes in intensity when hue changes.

- Gradient Map
- Channel Mixer all values at 33%
If you know any additional ways that produce different results, please leave a comment!