Few months back, I posted how to load Adobe Revel presets into Lightroom.
Since then, Adobe has revamped their mobile Photoshop Express application, it is now based on the same photo processing pipeline as Revel is. Most of the settings are compatible with Lightroom, and the presets are still stored as XMP files inside their application bundle.
Loading develop settings from XMP isn’t supported by Lightroom, but Preset Ripper plugin gets the job done.
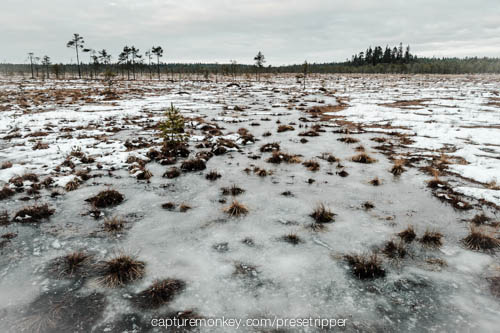
There were about 20 interesting presets in addition to Revel presets and non-Lightroom stuff. Following is the list of Lightroom 5 renditions of those presets. (Here’s the original). Looks like “Bright” and “Cinematic” are very similar to each other.
Once again, you can load any of these presets into your own photo using the Preset Ripper plugin, either by opening the original XMP files, or by downloading any of these JPEG files below (right click, save as) and opening it in the Preset Ripper plugin.
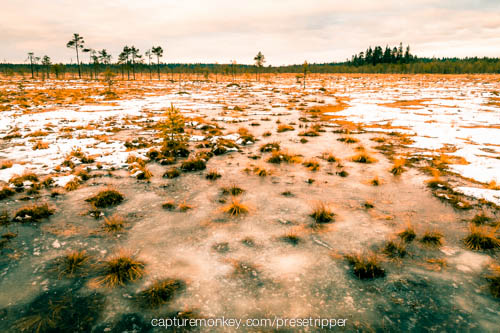
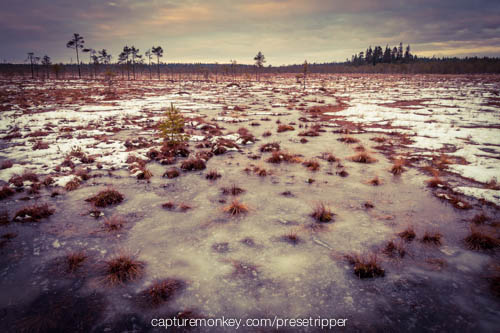
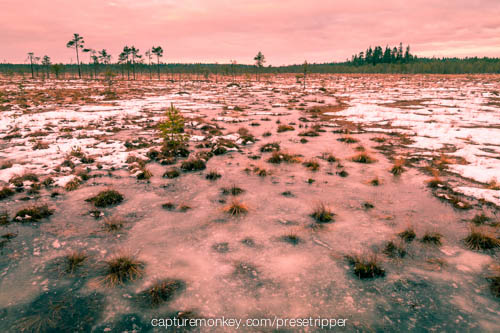
PSX60sTVGrab

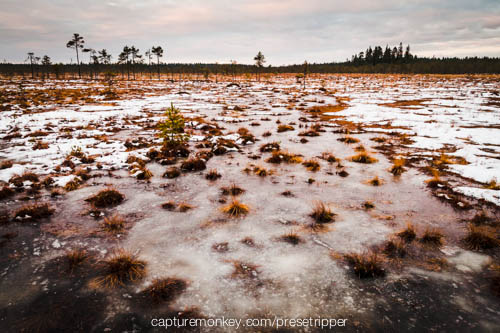
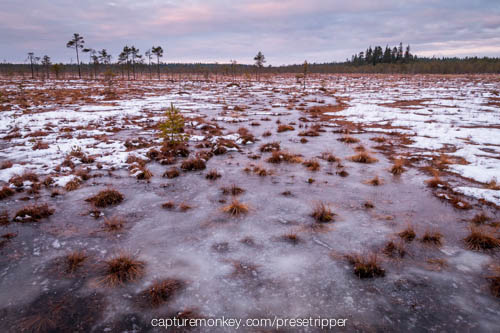
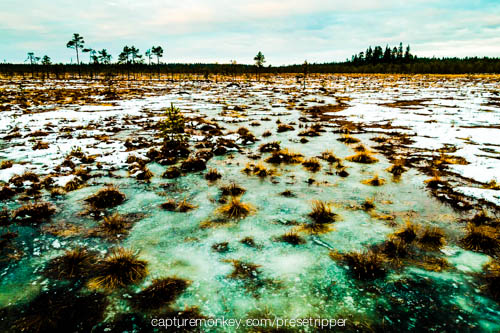
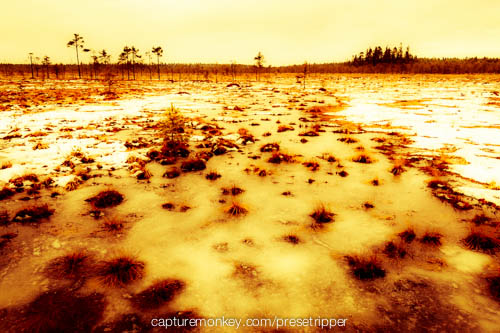
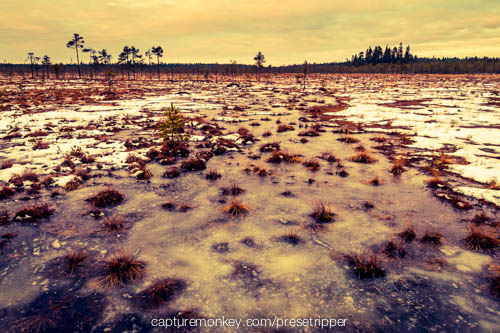
PSXBright

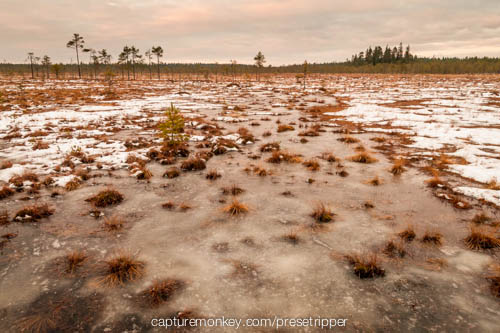
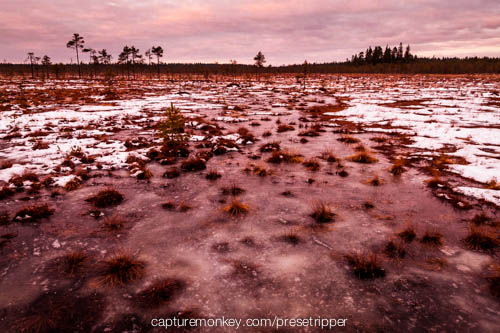
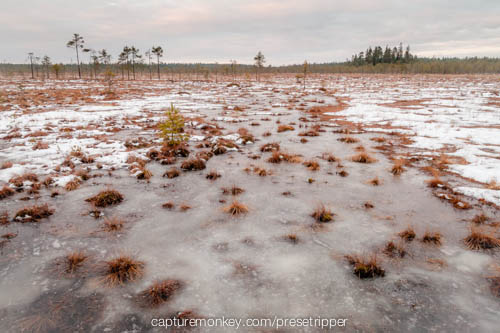
PSXCinematic

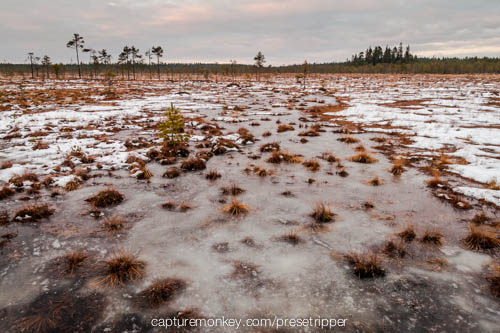
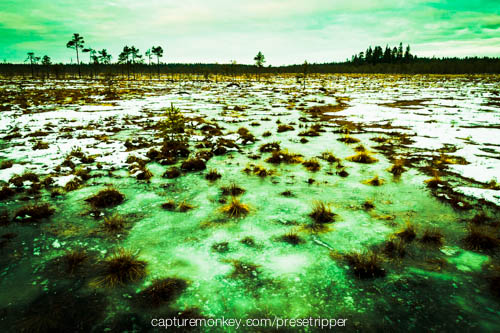
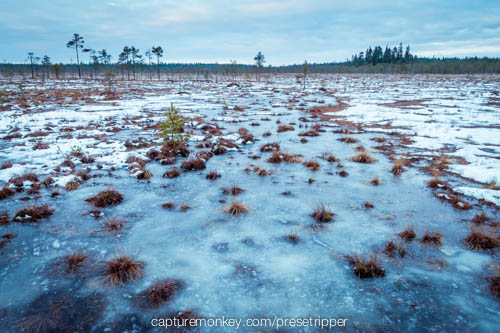
PSXClassic
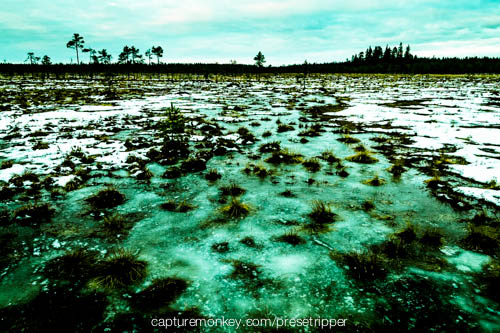
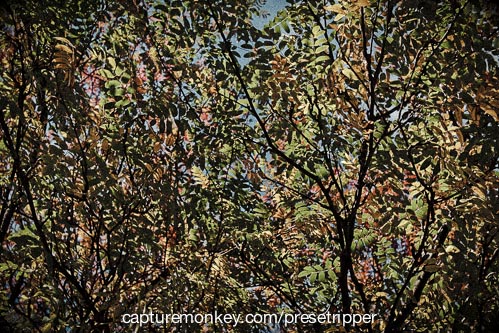
PSXColorful

PSXGlow

PSXGrain

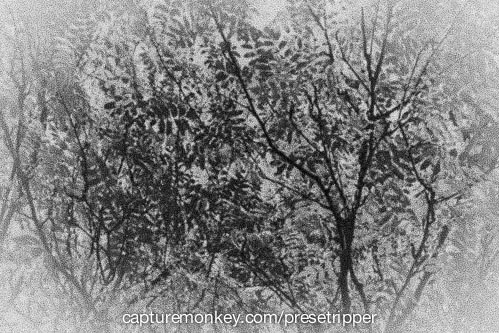
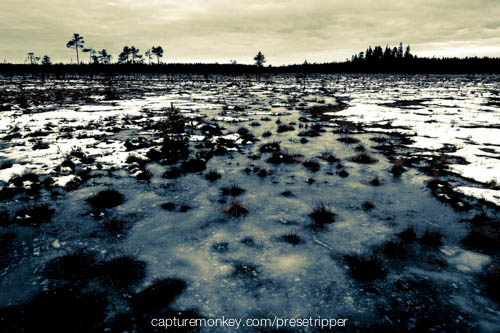
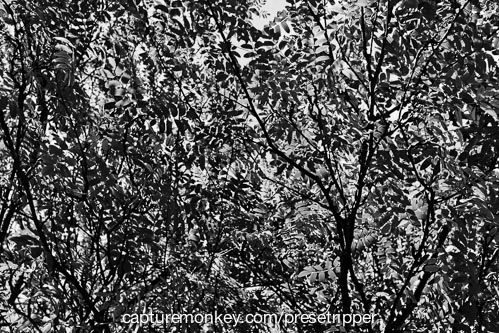
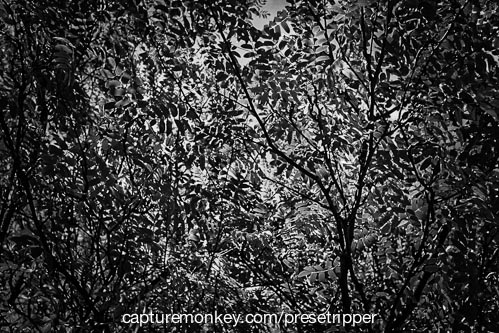
PSXHighContrastBW
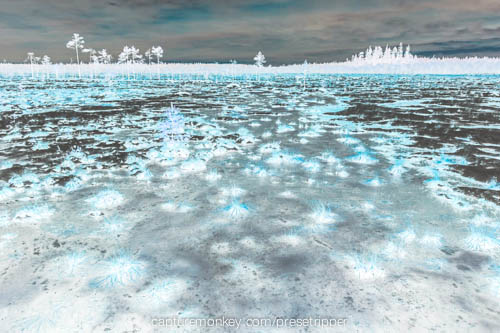
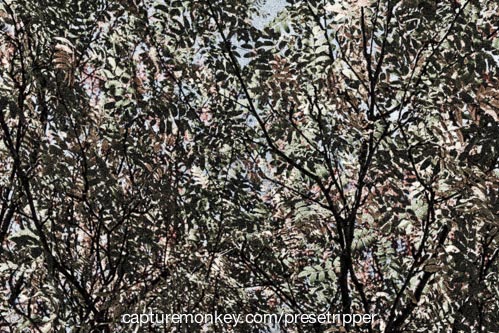
PSXInfrared

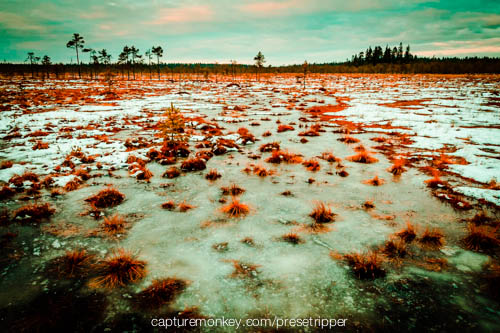
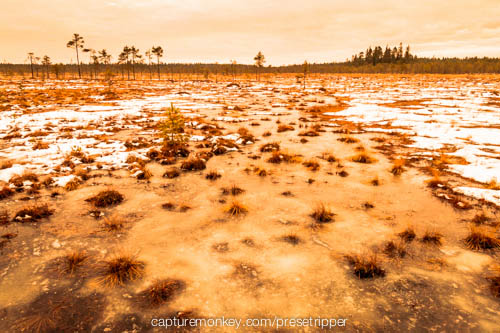
PSXOrange
PSXOrton

PSXPinhole
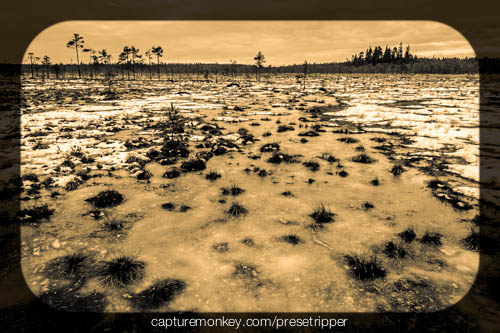
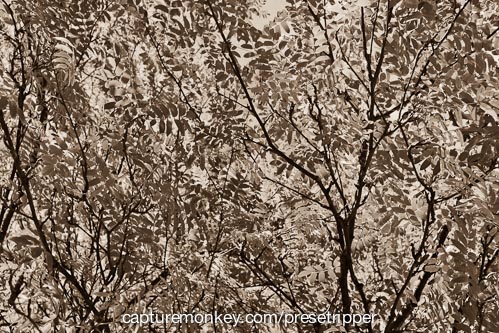
PSXSepia
PSXSepia1
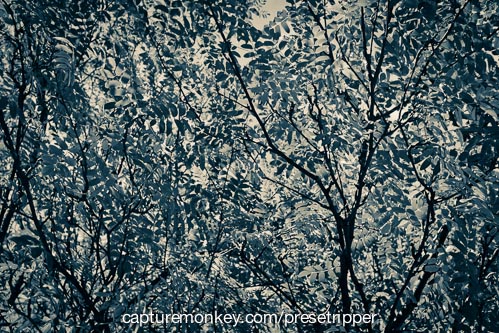
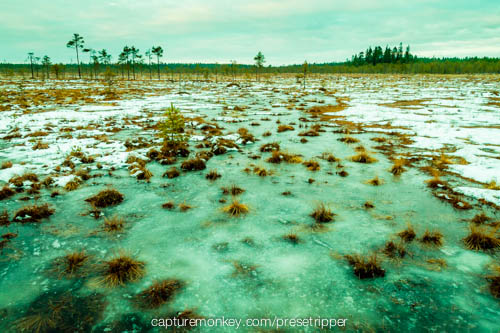
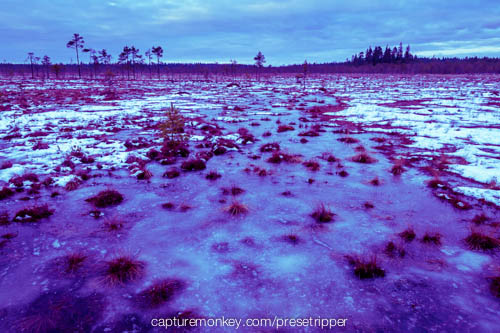
PSXTheBlues

PSXTwilight
PSXVibrant

PSXVingetteBlue

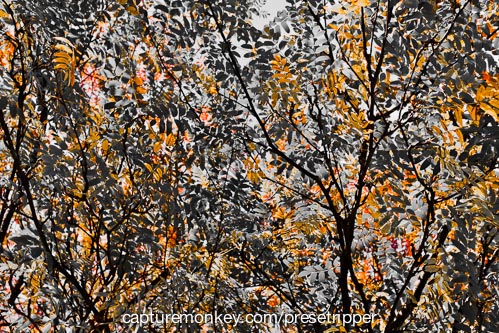
PSXVintageII

PSXWarmVintage

PSXWhiteMist